How to create a project
Turn an accepted proposal into a tracked project with budget, schedule, and assignees.
Once a client accepts a proposal, you can spin it into a full project in seconds. You can also create projects manually if you skipped the proposal stage.
Open the accepted proposal
Go to Proposals and find the one marked Accepted. Click it to open the detail page.
Click "Create Project"
You'll see a Create Project button near the top of the proposal page. Click it to start the conversion.
Confirm the project details
Kaliun pre-fills the project name, address, client, and assignees from the proposal. Review them and adjust anything that needs changing — for example, you might want a different project name or a tighter address.
Save the project
Click Create. Your new project opens immediately, ready for scheduling, budgeting, and day-to-day tracking.
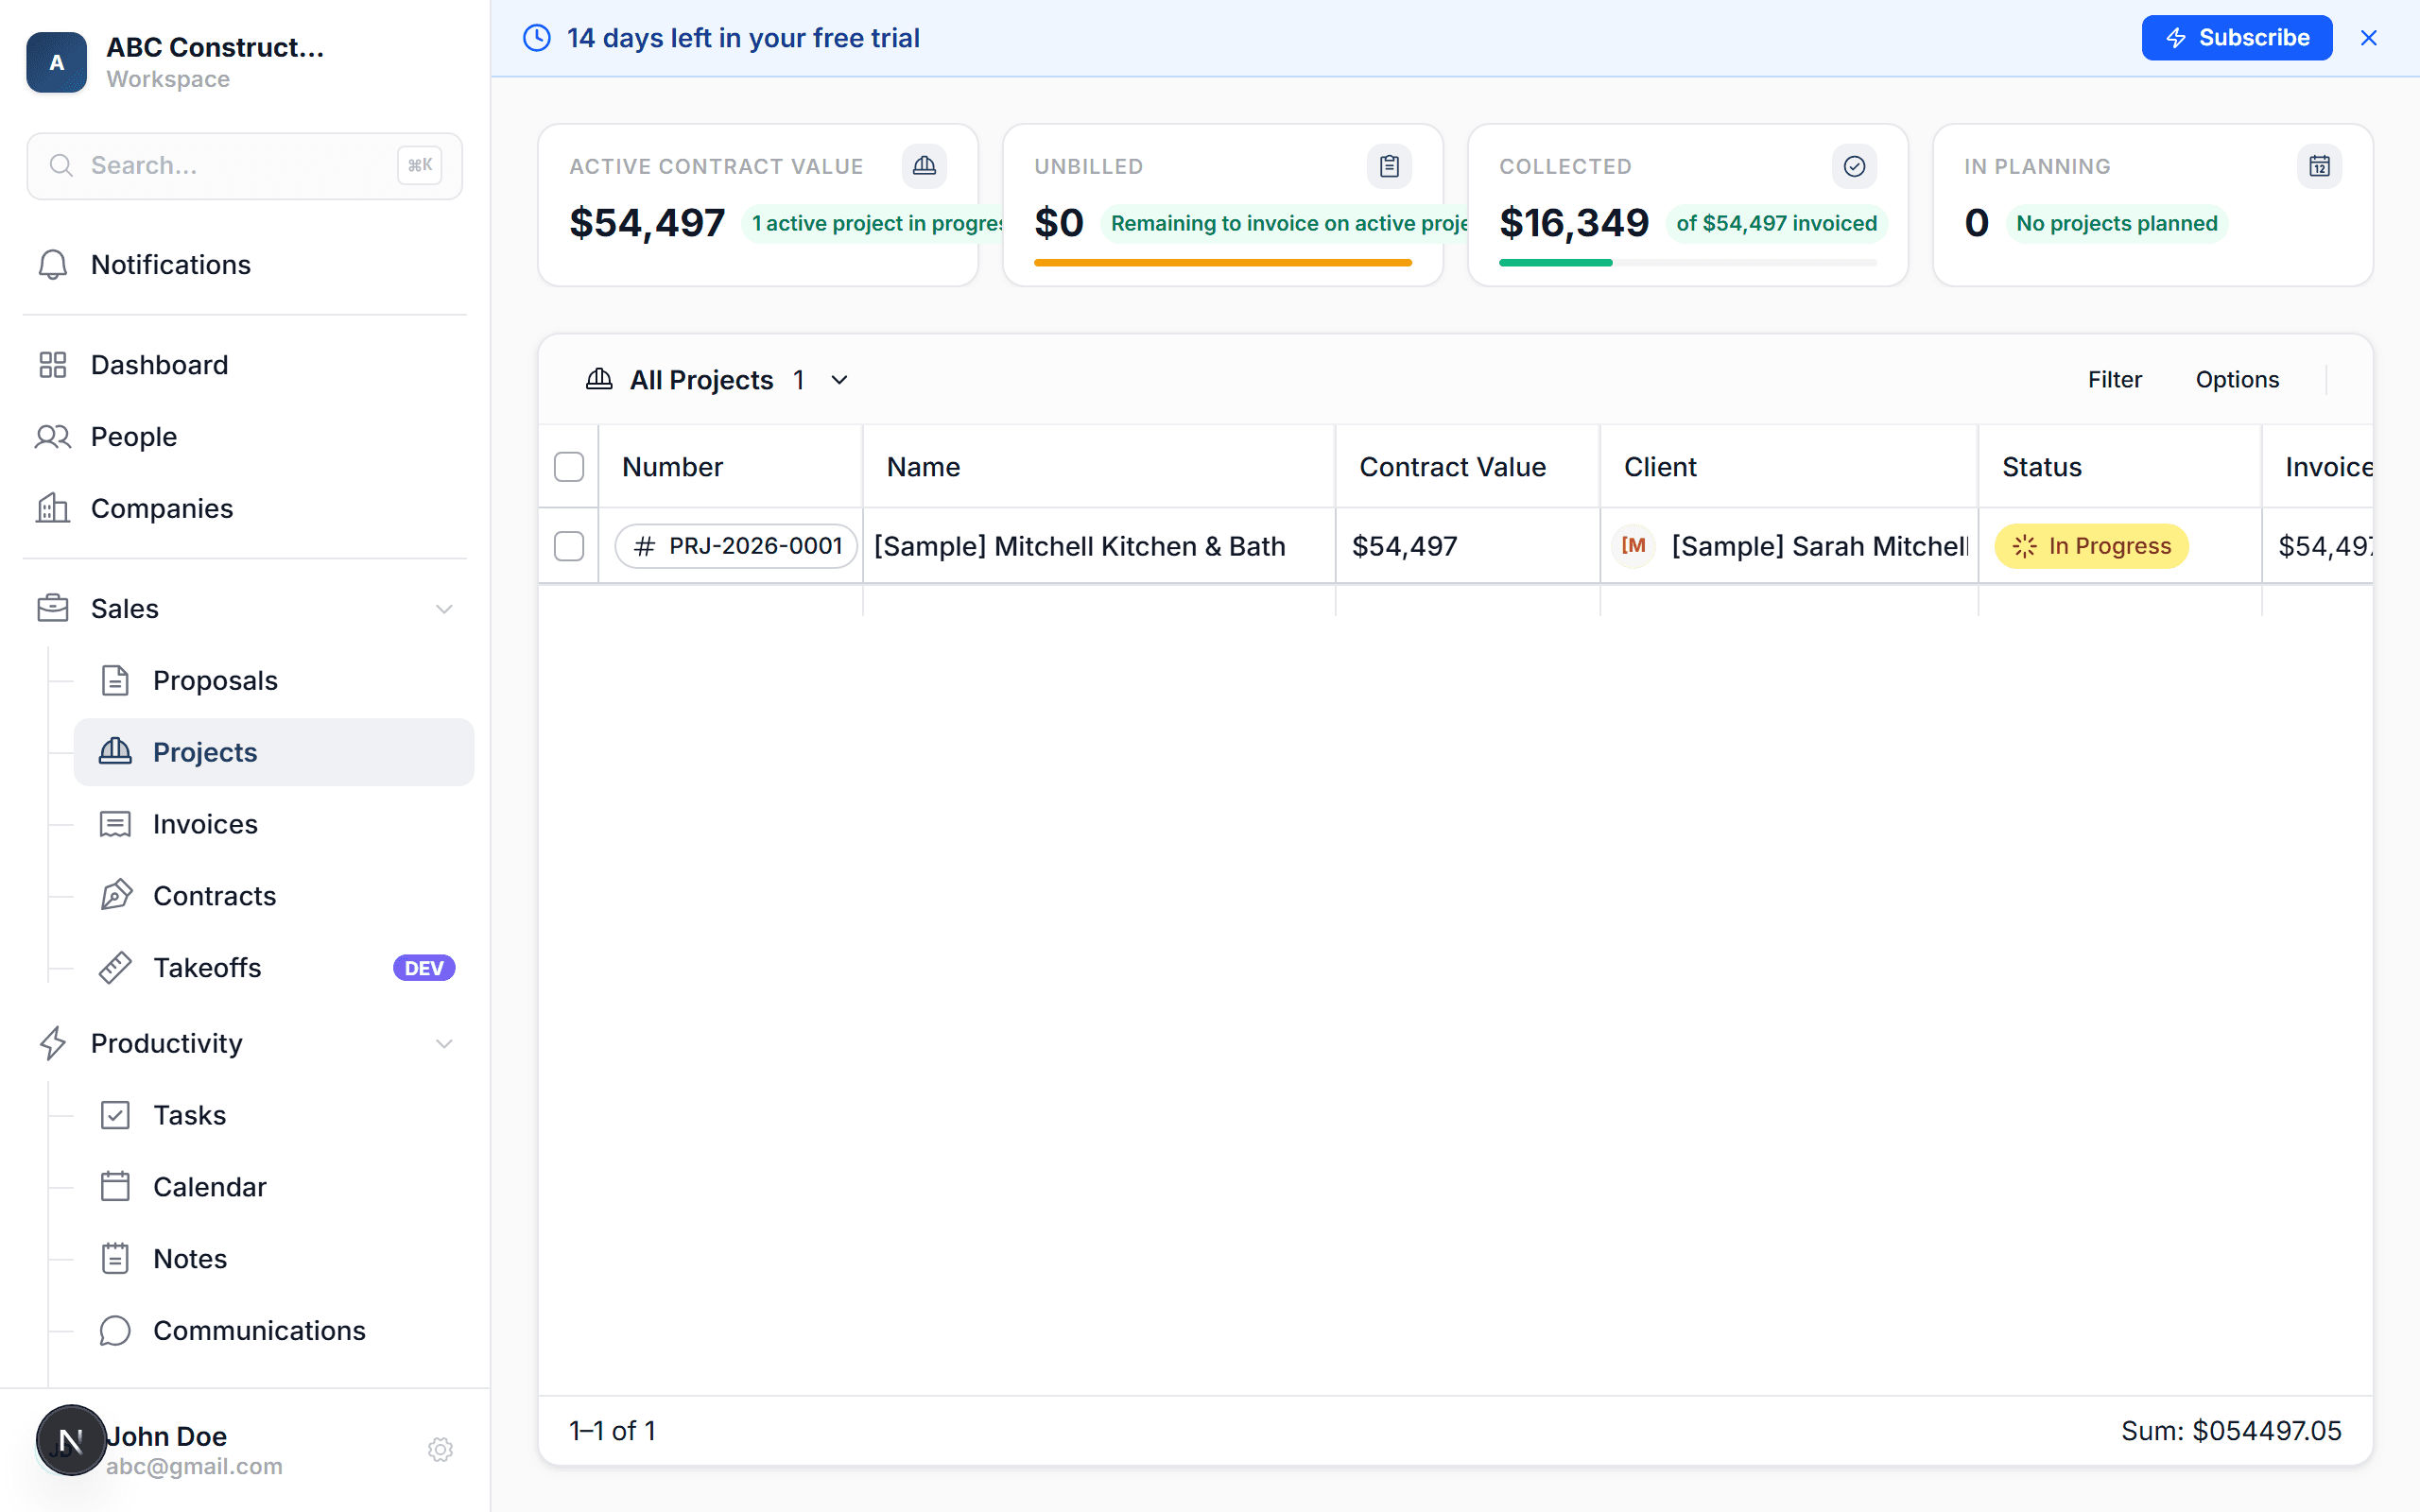
You can also create a project from scratch. Go to Projects → New Project, fill in the client and details manually, and click Create. This is useful when you're doing work that didn't go through a formal proposal.
What happens next
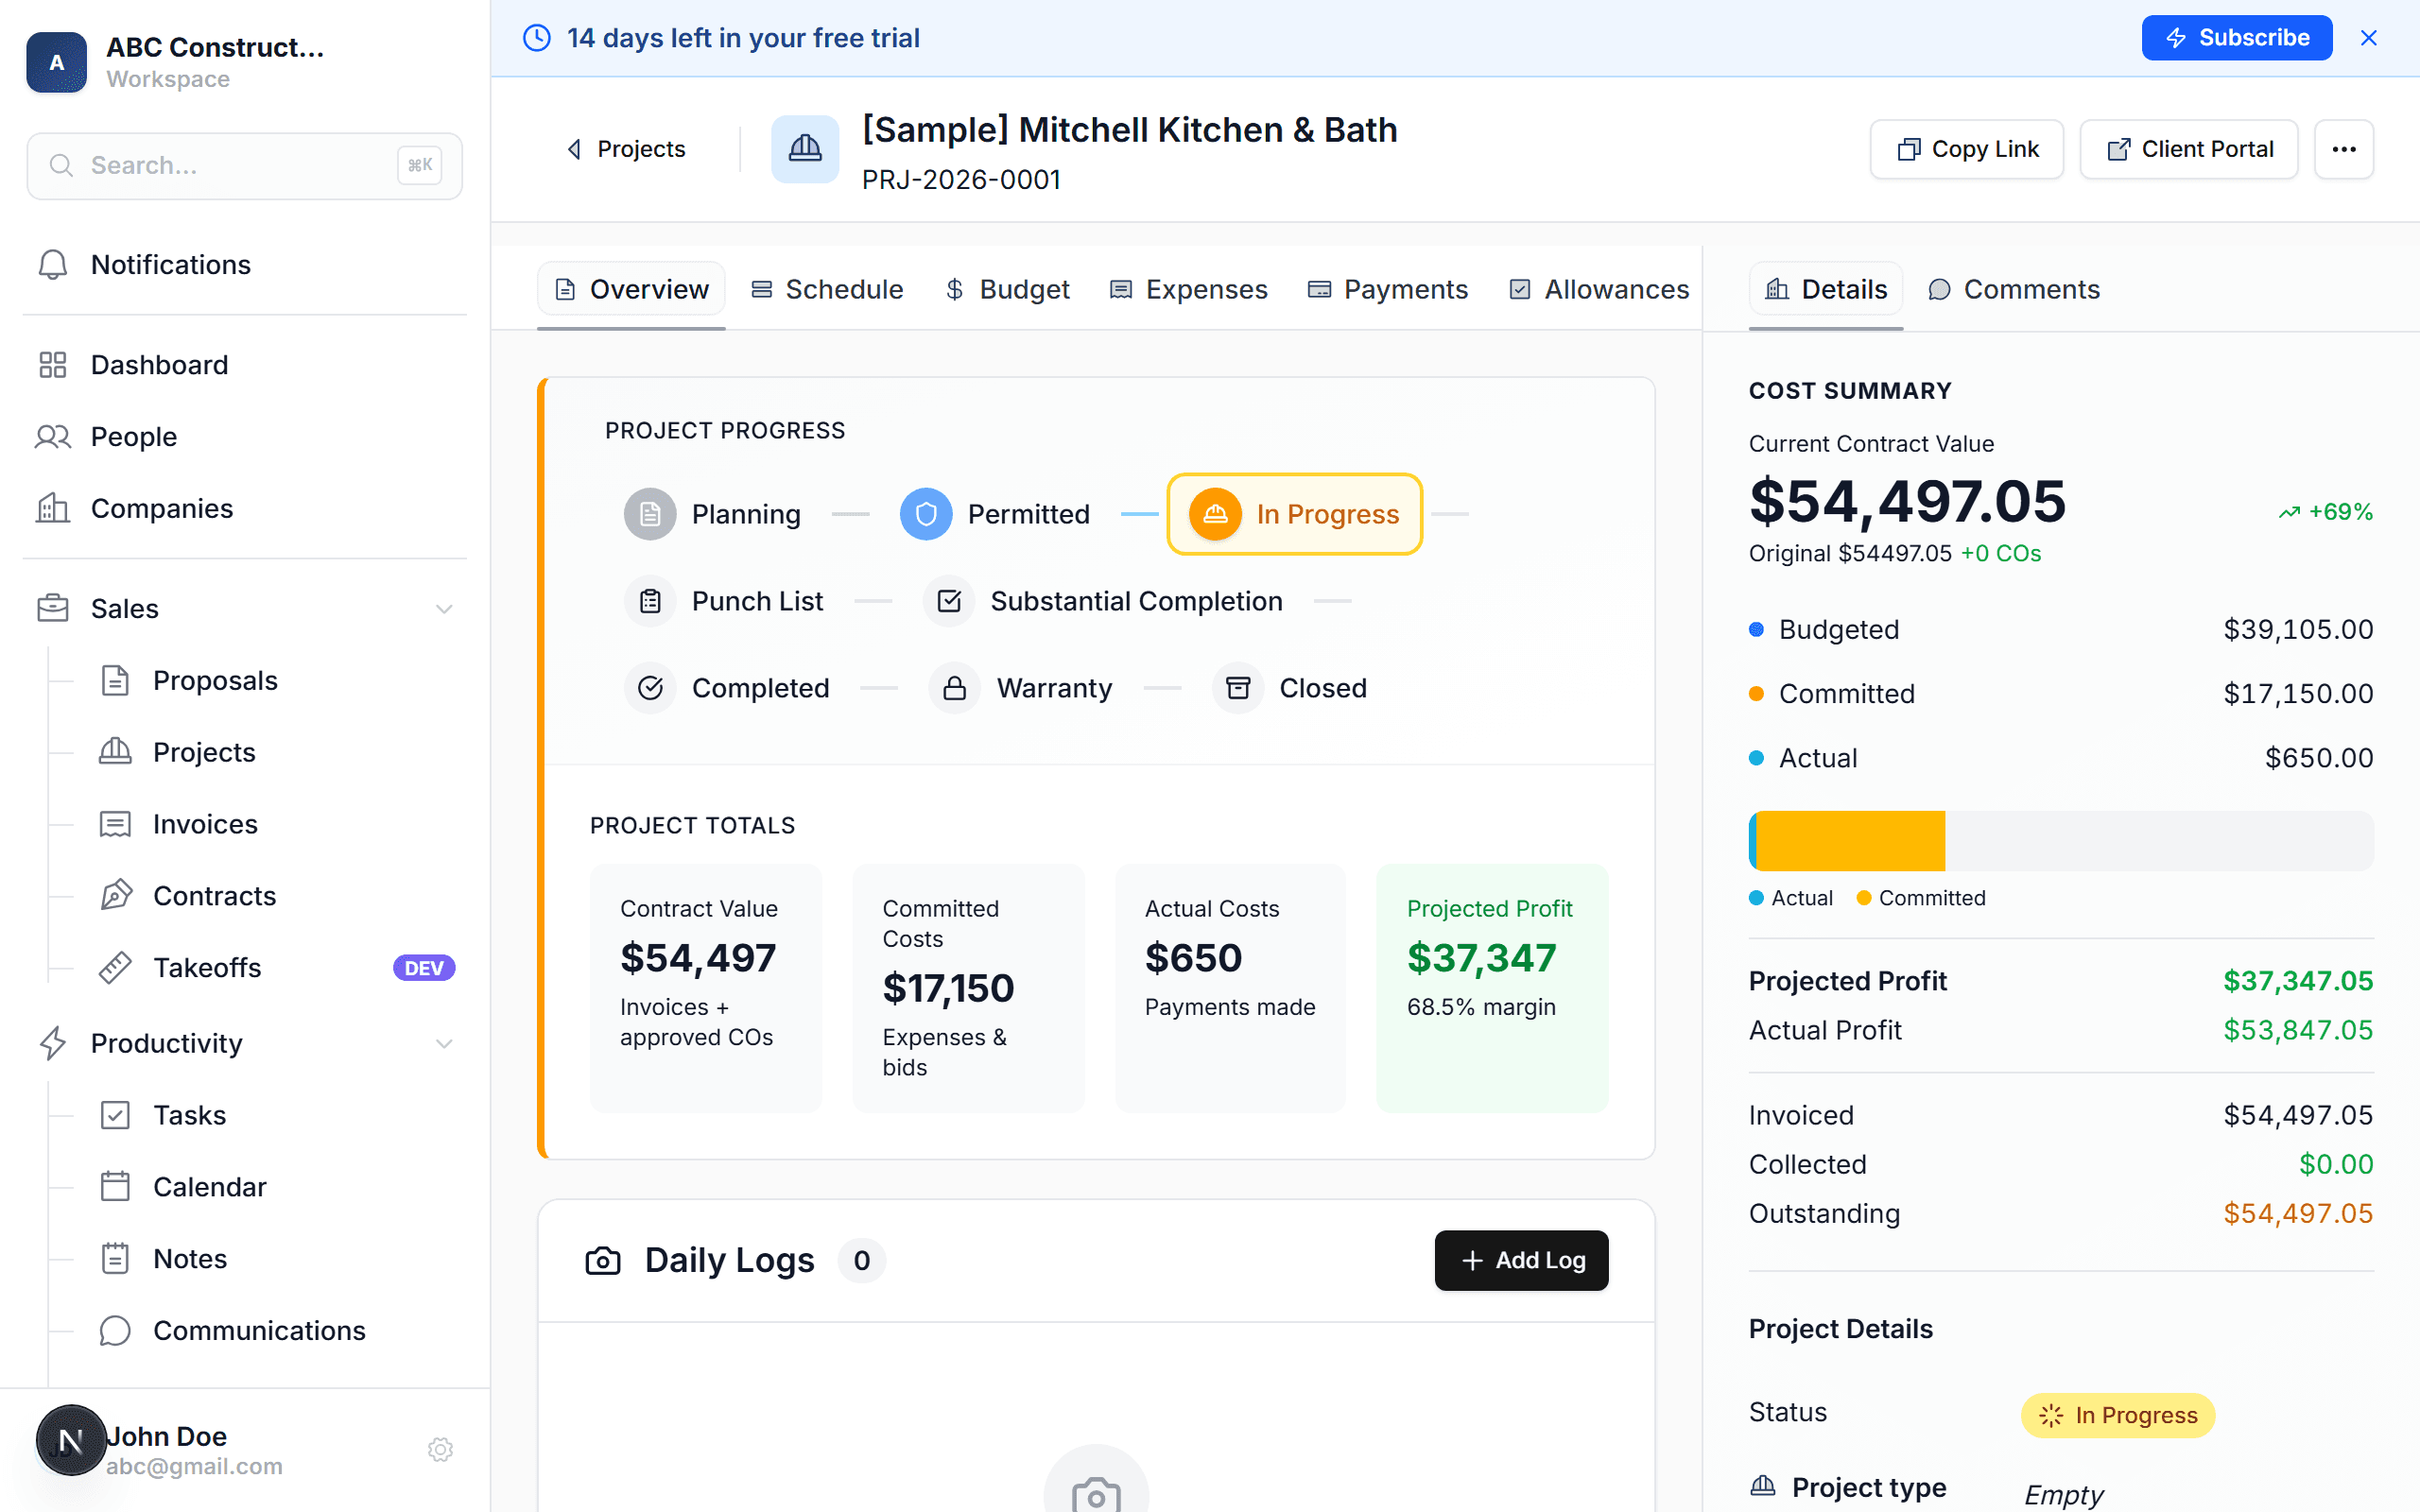
- The project's budget is seeded from the proposal's line items — every line item becomes a budgeted row in your Job Costing table
- Assignees are copied from the proposal so your team is already attached
- The project status is set to In Progress automatically
- You can start adding expenses, scheduling tasks, and sending invoices right away